
- Webflow creates restore points as you work, on every 50th auto-save, and you can save your own with Cmd+Shift+S or Ctrl+Shift+S.
- You can preview any backup before restoring it, from Site settings, Backups. Only Site managers can see backups.
- Publish to the webflow.io staging subdomain first, check it, then publish to your custom domain.
- A restore changes some settings: reCAPTCHA keys need adding again, bot protection turns off and scheduled CMS items move to the publish queue.
- Page branching lets a team edit a copy of a page without touching the live page, on the plans Webflow lists for it.
The short answer
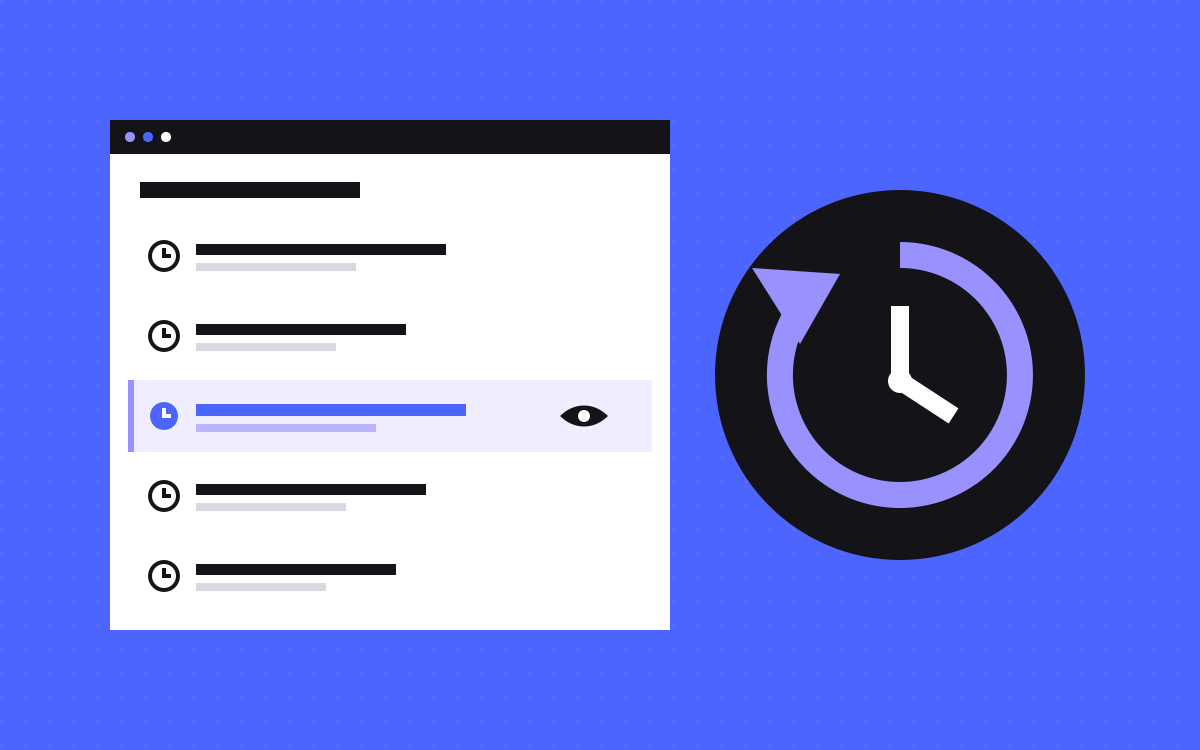
Webflow saves backups for you as you work. It creates a restore point on every 50th auto-save, and you can save your own restore point at any time with Cmd+Shift+S on Mac or Ctrl+Shift+S on Windows. You can preview any backup and restore it from Site settings, Backups tab, or from the Settings panel in the Designer.
For safe changes, use three layers: save a named restore point before big work, publish to the staging subdomain (yoursite.webflow.io) first, and on bigger teams use page branching so edits happen on a copy. After any restore, check the few settings Webflow says a restore changes.
What Webflow backs up, and who can restore
- Automatic restore points. Webflow does not offer scheduled backups. It creates a restore point on every 50th auto-save, and also when you restore to an older version.
- Manual restore points. Press the shortcut, add a description, save. Wait for the green "Changes saved" tick in the toolbar first, so your latest canvas changes are included.
- Assets. Webflow says images and other assets are saved and restored with a backup.
- Safety copy. When you restore, Webflow saves the current version first, so a restore can itself be undone.
- Who. Only Site managers can access backups.
- Plans. Paid site plans keep unlimited backups. A site on the free Starter plan can only be restored from one of its two most recent backups, unless you have a paid Workspace plan.
Plan names change from time to time, so check the current docs before you rely on a limit.
Staging: publish to webflow.io first
Every Webflow site has a staging subdomain, such as yoursite.webflow.io. Webflow describes it as the place to test custom code and get sign-off before you push to your custom domain.
To publish only to staging: click Publish, tick the webflow.io domain, untick your custom domain, then publish to the selected domain. A few things to know:
- You can turn off search engine indexing for the staging subdomain, so test pages do not show up in Google.
- If you rename the subdomain, the old staging address and any read-only links you shared stop working at once.
- Webflow advises against subdomains that start with "ad" or "ads", because ad blockers may stop them loading.
- Custom staging domains and private staging are listed for Enterprise customers and partners.
Staging shows the whole site as it will be. It does not protect the live site while people are still editing; that is what page branching is for.
Page branching for bigger teams
Page branching makes a working copy of a page. Changes on the branch do not touch the live page, and when you merge, the branch overwrites the original. Webflow lists it for its Team and Enterprise plans, so check the current docs for your plan.
- Default roles. Site managers and designers can create and merge branches. Content editors and marketers can create branches, but not merge them.
- CMS is shared. A branch uses the same CMS as the main site. You cannot create or change Collections or Collection items on a branch.
- Some things stay on main. Variables, swatches and interactions cannot be changed on a branch.
- Watch the merge. Edits made to the original page's content while it was branched are lost on merge, and comments on the branch are deleted.
Publishing the main site is not blocked by an open branch. A branch only goes live once it is merged and published.
What a restore changes
A restore is not only a rewind of the canvas. Webflow lists settings and data that it affects. Check each one after you restore:
| Area | What happens | What to do |
|---|---|---|
| Scheduled CMS items | Move to "Queue to publish" | Remove any that should not go out on the next publish |
| CMS "Published on" dates | Update to the time of the restore | Expect sort orders by publish date to shift |
| reCAPTCHA | Settings are refreshed | Add the keys again in Apps and Integrations |
| Bot protection | Turned off | Turn Cloudflare Turnstile spam protection back on |
| Comments | Kept, but may move to a parent element | Read them again in context |
| Locales | Publishing turns off if the backup has more locales than your plan | Turn locale publishing back on |
| Ecommerce inventory | Reset unless you tick "include inventory levels" | Tick it if you track stock |
One more: Webflow notes that restoring a very old backup, from before it changed how IDs are kept, resets Collection and item IDs, which breaks API connections and tools that use them. Check the cut-off in the current docs before restoring anything old.
A routine before every big publish
- Wait for "Changes saved", then save a restore point named after the change, such as "Before pricing page rebuild".
- If the change touches the CMS, export the affected Collections to CSV from the CMS panel, so you have the content outside Webflow too.
- Make the change, on a branch if your plan has branching.
- Publish to the webflow.io staging domain only.
- Check the changed pages on a phone and a laptop. Send a test through every form on them.
- Publish to the custom domain.
- Re-test one form and one key conversion on the live site.
It takes a few minutes, and it gives you a clean point to return to. Our redesign checklist covers the bigger version of this for full rebuilds.
Worked example: a bad publish
Say someone publishes a homepage change and the hero breaks on phones. Here is the order we would follow:
- Decide: fix or roll back. If the fix is one style, fix it and publish. If you are not sure what changed, roll back.
- Find the right backup. Open Site settings, Backups. Use the eye icon to preview the backup from just before the change.
- Note what else changed since. CMS edits, new pages or settings made after that backup may be rolled back too. Write them down so you can redo them.
- Restore. Webflow saves the current version first, so you can come back to it.
- Fix the side effects. Re-add reCAPTCHA keys, turn bot protection back on, clear the publish queue of anything that should not go out.
- Publish and test. Check the page, send a form, confirm the lead arrived.
What Webflow backups do not cover
Backups cover your Webflow site. They do not cover the tools around it:
- Your CRM, email tool and automations, which keep their own history, or none.
- Tag Manager containers and analytics settings.
- DNS records at your domain registrar.
- Custom code hosted outside Webflow, such as scripts on a CDN or apps on Webflow Cloud, which live in their own repository.
Write down where each of these lives and who can change it. Our post on what breaks after launch has an owner table you can copy.
What to do next
Save a named restore point today, turn off indexing on your staging subdomain if it is still on, and add the publish routine to your team's notes. If you would rather have someone else run it, our Webflow care plan covers day-to-day changes on your site, or send us your site and tell us what worries you.

Terms used: Webflow, Staging site