

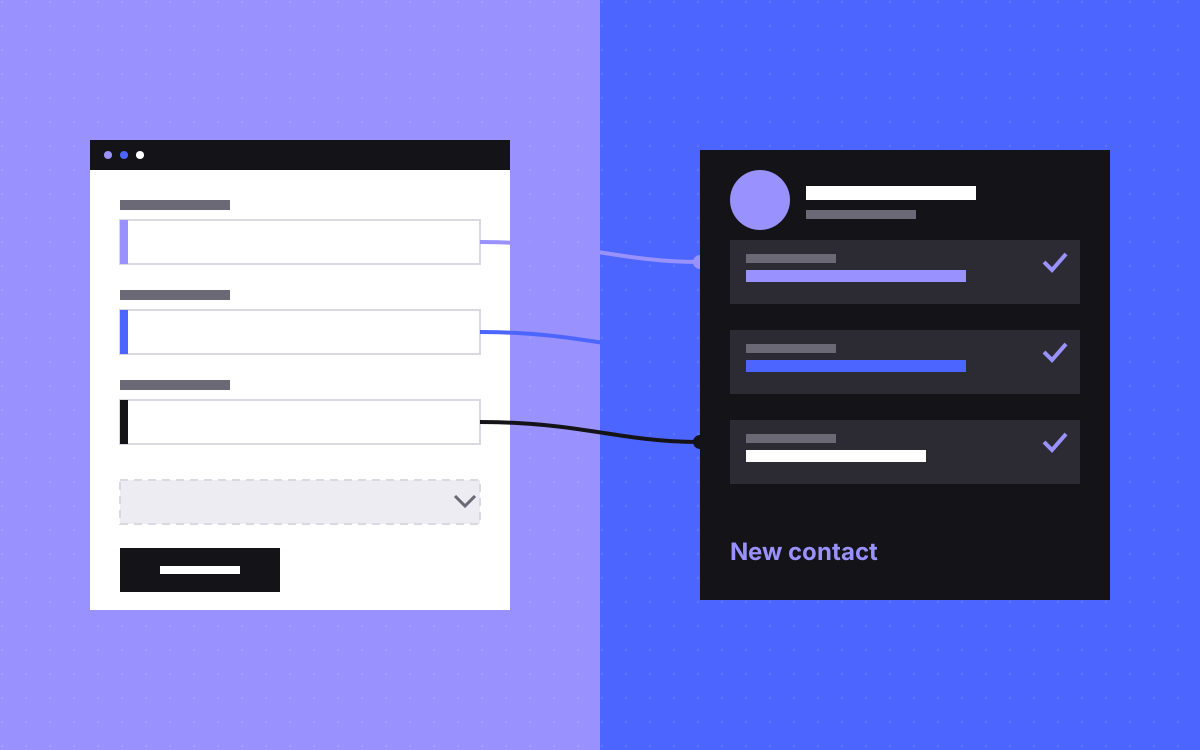
- The HubSpot app for Webflow gives three ways in: an iframe embed, a developer embed, or a native Webflow form mapped to HubSpot.
- The iframe is the easiest and is styled in HubSpot. Changes there show on the live site without a Webflow publish.
- The developer embed lets you style a HubSpot form in Webflow, but needs a HubSpot Marketing Professional or Enterprise plan.
- Native Webflow forms use HubSpot's non-HubSpot forms feature. Webflow's help page says only text inputs are supported.
- Field names decide where data lands. Test on staging and check the contact in HubSpot before you publish.
The short answer
Install the HubSpot app from the Webflow Marketplace. Webflow's help page for it lists three ways to connect forms:
- iframe embed: a HubSpot form, built and styled in HubSpot.
- Developer embed: a HubSpot form you style in Webflow. Needs a HubSpot Marketing Professional or Enterprise plan.
- Webflow form: a native Webflow form whose fields are mapped to HubSpot through HubSpot's non-HubSpot forms feature. Only text inputs are supported.
Rule of thumb: if you have the HubSpot plan, use the developer embed. If not, use the iframe for anything with dropdowns or checkboxes, and a native Webflow form only for simple text forms.
The three options side by side
| Option | Form built in | Styled in | Needs | Watch out for |
|---|---|---|---|---|
| iframe embed | HubSpot | HubSpot | Access to the form in HubSpot | Can look different from the rest of your site |
| Developer embed | HubSpot, new form editor | Webflow Style panel | Marketing Professional or Enterprise | Structure changes need a refresh in Webflow |
| Webflow form | Webflow | Webflow | Non-HubSpot forms turned on in HubSpot | Text inputs only |
All three come from the same app, so you can mix them: a developer embed for the demo request and a simple Webflow form for the newsletter, for example.
iframe embed: the low-effort route
Webflow's help page says iframe forms are managed entirely in HubSpot. Embed the form, publish once, and later edits to styling or fields in HubSpot apply to the live site without a Webflow publish. That suits teams where marketing ops owns forms in HubSpot and does not want to wait for a site update.
The cost is looks. The form is styled in HubSpot, inside a frame, so matching fonts and spacing to your Webflow design takes work in HubSpot's own style tools.
Developer embed: HubSpot form, Webflow styling
The developer embed renders an HTML template of the HubSpot form in Webflow, which you style in the Style panel like any element. The app lets you switch between form states, such as error and success, to style each one. Webflow's help page notes these limits:
- Needs a HubSpot Marketing Professional or Enterprise plan.
- Only forms built in HubSpot's new form editor. Legacy forms need the legacy app.
- You cannot change the form's HTML structure in Webflow. Change it in HubSpot, then click Pull Layout in the app to refresh.
- If the app spots changes made outside the Style panel, the form falls back to an iframe to protect submissions.
For most marketing sites on a qualifying HubSpot plan, this is the best mix of control and safety.
Webflow form: native fields, mapped to HubSpot
This option keeps a normal Webflow form and uses HubSpot's non-HubSpot forms feature to send the fields to HubSpot. Webflow's help page says the name attributes must match HubSpot's, non-HubSpot forms must be turned on in HubSpot, and only text inputs are supported, not dropdowns, radio buttons, checkboxes or text areas.
HubSpot's own article on non-HubSpot forms adds more conditions:
- The HubSpot tracking code must load on the page, and Collect data from website forms must be on in HubSpot's settings.
- The form needs an email-type field and a standard submit button, and must be in the page when it first loads, not inside an iframe.
- No sensitive fields, such as card numbers.
- Hidden fields are not collected.
- Data maps only to single-line text properties, and you cannot map fields by hand. HubSpot matches by field name and label.
- Every click of submit counts as a submission, so validation errors can create partial records.
HubSpot's article also says the form must not have JavaScript bound to its submit event. Webflow forms submit through Webflow's own script, and Webflow's app is built for this case, but it is one more reason to test on staging first.
Which one to pick
- Do you have Marketing Professional or Enterprise? Use the developer embed for your main forms.
- No, and the form has dropdowns, checkboxes or a message box? Use the iframe embed.
- No, and the form is only a few text fields, such as name, email and company? A mapped Webflow form is fine.
- Does the form need custom logic, such as routing by answer, multi-step flows or data from your own API? None of the three may fit. Look at HubSpot's forms API or a custom integration, and budget for it.
Setting it up
- Install the HubSpot app from its Webflow Marketplace page. Webflow says you need Site Admin or Designer permissions, and a HubSpot account with access to the forms.
- Pick your Webflow site, authorise the app and choose your HubSpot account.
- Open the Apps panel and launch the HubSpot app.
- For an embed, select a div or container, not a Webflow form block, then click + HubSpot form.
- For a Webflow form, click + Webflow form, name it and choose fields.
- In the app's Settings tab, turn on Track user activity on site if you want HubSpot's tracking script.
- Publish to staging, send a test, and find the contact in HubSpot.
What usually goes wrong
- Field names that do not match. The submission arrives, but the company name sits in the submission and not on the contact.
- A custom form action URL. Webflow's help page says this stops Webflow's own notifications, because the form no longer goes through Webflow.
- Legacy forms. The new app only supports forms from HubSpot's new editor.
- Tracking without consent. HubSpot's tracking script sets cookies. Where consent is required, it should wait for it. See cookie consent on Webflow; this is not legal advice.
- No conversion tracking. HubSpot gets the lead, but GA4 never hears about it. Our guide to tracking forms in GA4 covers native forms and forms inside an iframe.
Test before you publish
- Send each form on staging with a new email address.
- Open the contact in HubSpot and check every field landed on the right property.
- Try an invalid email and confirm no half-filled contact appears.
- Check the success message and any redirect.
- Check the form on a phone and with the keyboard only.
- Confirm your team's alerts, in Webflow or HubSpot, still arrive.
What to do next
List every form on your site, the fields it asks for and the HubSpot plan you are on. That list answers which option to use. See our Webflow and HubSpot integration page, our integrations service, which starts at $250, or send us your form list. Moving off HubSpot's CMS at the same time? Read the HubSpot to Webflow migration guide.

Terms used: Webflow, Webflow forms