

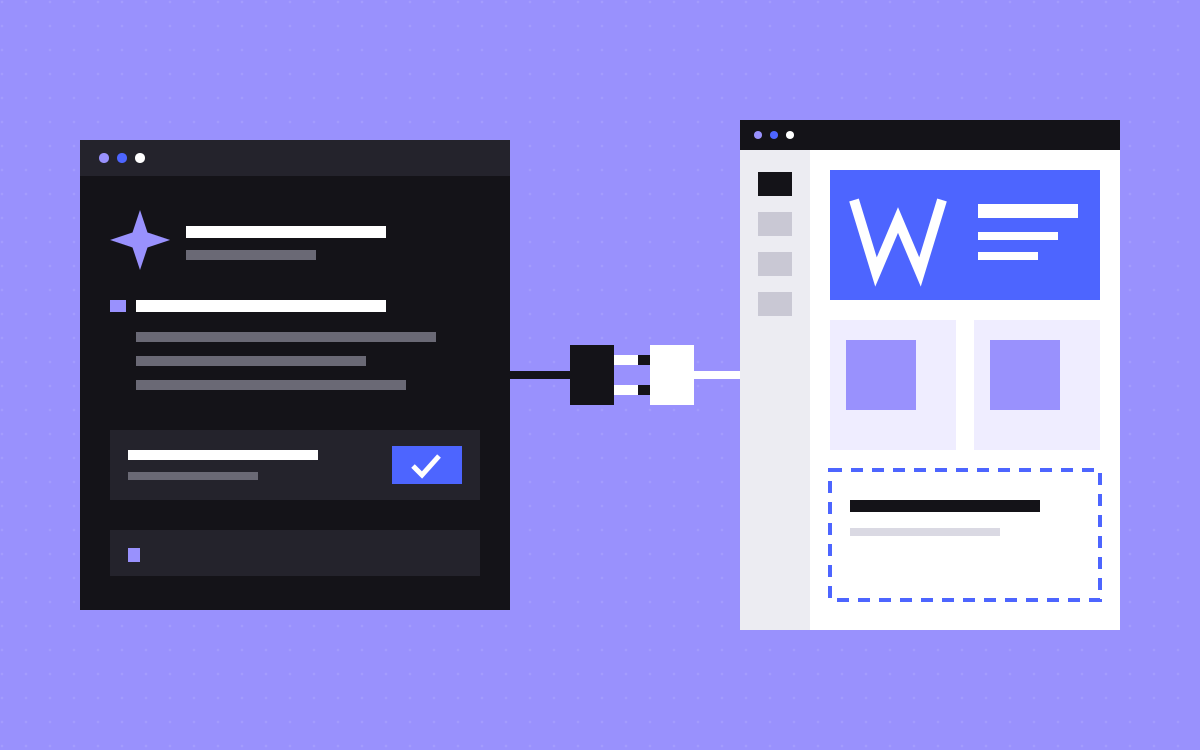
- Add the Webflow connector in Claude, or add the server to Claude Code, then sign in and choose your sites.
- Most work runs through the Data API. Live Designer tasks need the Bridge App open in a Designer tab.
- Claude can do only what your Webflow role allows, and each sign-in covers one Workspace.
- Begin with read-only prompts, then small changes, then check them on a staging domain.
- Set Agent Instructions, keep Claude's action approvals on, and review each change. On Enterprise, the Site Activity log helps.
The short answer
To connect Claude to Webflow, add the Webflow connector in Claude, or add Webflow's MCP server to Claude Code, then sign in through your browser and choose which sites Claude can reach. Webflow says setup takes about five minutes. Claude can then read and change your site within your own permissions.
The connection is the easy part. This guide spends more time on what to do next, because an AI tool with write access to a live site deserves a careful first session. The Model Context Protocol is the open standard behind this, and Webflow MCP is Webflow's server for it.
Connect from the Claude app
Going by Webflow's Connect Claude help page:
- In Claude, click the plus icon and go to Connectors, then Add connector.
- Search for Webflow, select it and click Connect.
- Confirm the callback URL.
- Choose the sites or Workspaces Claude can access.
By default, Claude asks you to approve the actions it wants to take in Webflow, and you can allow or block specific actions in the connector settings. Leave approvals on until you know how it behaves. Menus move, so follow the current help page if yours looks different.
Connect from Claude Code
The Claude Code guide gives this command:
claude mcp add --transport http webflow https://mcp.webflow.com/mcp
Start Claude Code, run /mcp list and select the Webflow server. A browser page opens, where you choose your sites and install the Bridge App. To keep each site's sign-in apart, the guide also offers a project-scoped version, run from that project's folder:
claude mcp add --transport http my-webflow-site https://mcp.webflow.com/mcp -s project
To test the connection, use the guide's own prompt: "List all my collections and show me their field structures." It reads and changes nothing.
Do you need the Bridge App?
Usually not. Going by how the server works, most of it runs through the Data API, with no Designer open.
| Works without the Designer | Needs the Bridge App in an open Designer |
|---|---|
| Creating and editing elements, components, styles and variables | Visual snapshots of elements |
| CMS content, pages, assets and fonts | Reading or changing the current selection, page, mode or branch |
| Other site data | Navigating the canvas and reading breakpoints |
To use it, open your site in the Designer, launch the Bridge App from the Apps panel and wait for it to connect. You can minimise it, but it has to stay open. The app installs during sign-in.
What limits apply
- Permissions. Webflow's overview says an agent can do only what you can do in the Designer. Your roles apply, including custom roles.
- Who can authorise. The FAQ says only site owners and admins can authorise the server for a site. The Connect Claude help page says any site role except Reviewer can connect, so if a site is greyed out, ask an owner or admin.
- One Workspace. Each sign-in covers a single Workspace. To switch, remove the connection and sign in again.
- Not every endpoint. It supports a focused set of tools, not the whole Webflow API.
- Add-ons. Reading Analyze or Optimize data needs those paid add-ons.
- Locales. It can update existing items and static content in other locales, but cannot create new localised CMS items.
- Page branches. Webflow lists these under the Enterprise plan.
This list changes as Webflow adds tools, so check the docs for anything you depend on.
A safe first session
Webflow's docs do not set out this order. It is how we would approach any new tool with write access.
- Back up. Check that you have a recent site backup and know how to restore it.
- Give it the least. Authorise one site only. A test copy is best at first.
- Read first. Ask for a list of pages, or Collections, or pages missing a description. Check that the answers are right.
- Change one thing. One draft CMS item, or one description. Look at what changed.
- Check it on staging. Publish to the staging domain and open it. Webflow's FAQ suggests this for loops that run without a live Designer.
- Review the change. Look at what changed on staging. On Enterprise, find it in the Site Activity log too.
- Widen slowly. Allow more only after that has gone well.
Prompts that are safe to start with
| Goal | Prompt | Risk |
|---|---|---|
| Audit | List every page with a missing or duplicate description. Change nothing. | None |
| CMS check | Show me blog items with an empty image alt field. Change nothing. | None |
| Draft | Create one draft item in Blog Posts from this text. Do not publish. | Low |
| Small fix | Propose new descriptions for these five pages, and wait for my approval. | Low |
| Build | Build this section on a new test page, using existing classes and components. | Medium |
Saying "change nothing", "do not publish" and "wait for my approval" gives you a second check on top of Claude's own approvals.
Set your house rules
Webflow supports Agent Instructions, which are site-specific rules. The server provides them automatically, and Webflow's docs advise reviewing them before you connect agents, as agents are likely to follow them. Useful rules to write down:
- Use existing components and classes, and do not create new ones without asking.
- Never publish to the live domain.
- Never change URLs or delete pages or Collections.
- Follow our naming system, such as Client-First.
- Use only facts given in the brief, and do not invent numbers or customer names.
On Enterprise, also use the Site Activity log, which Webflow offers to Enterprise customers and Enterprise partners. Each entry shows who made a change and its source, and a Webflow MCP filter shows changes from connected tools. On other plans, keep your own note of what each session changed.
Problems you may hit
ModeForbidden. The tool is not allowed in the current Designer mode. Switch mode. For canvas changes, use Build mode with the Bridge App connected.- Timeouts in the Designer. Browsers can put idle tabs to sleep. Keep the tab active or pinned.
- Interactions seem to be missing. The changelog says agents see only GSAP interactions, not Classic ones. A Classic site can look as if it has none. Adding GSAP ones there runs both versions and costs performance.
- Secrets in logs. The same notes warn that Webflow Cloud build and runtime logs may contain secrets, so be careful with what you paste or share.
Where this fits in real work
We built the ClanX role pages from the CMS API before the Webflow MCP existed. That is still a fine route for a fixed, repeatable job, because a script does the same thing each time. See CMS API landing pages. An MCP connection suits varied requests where a person is checking along the way.
On Slate, which now runs on Astro and Sanity, AI works through the Sanity MCP on a fixed section library and hands back a staging link. A different platform, but the same lesson: give the AI a small set of approved parts and a review step. Our AI page builder guide covers this.
What to do next
Connect one test site, run the read-only prompts and write your rules before any live change. If your site's structure makes this hard, such as messy classes or no components, fix that first, because AI repeats the patterns it finds. Our Webflow team can tidy that up, or tell us what you want Claude to do and we will help you set it up safely.

Terms used: Webflow, Webflow MCP