

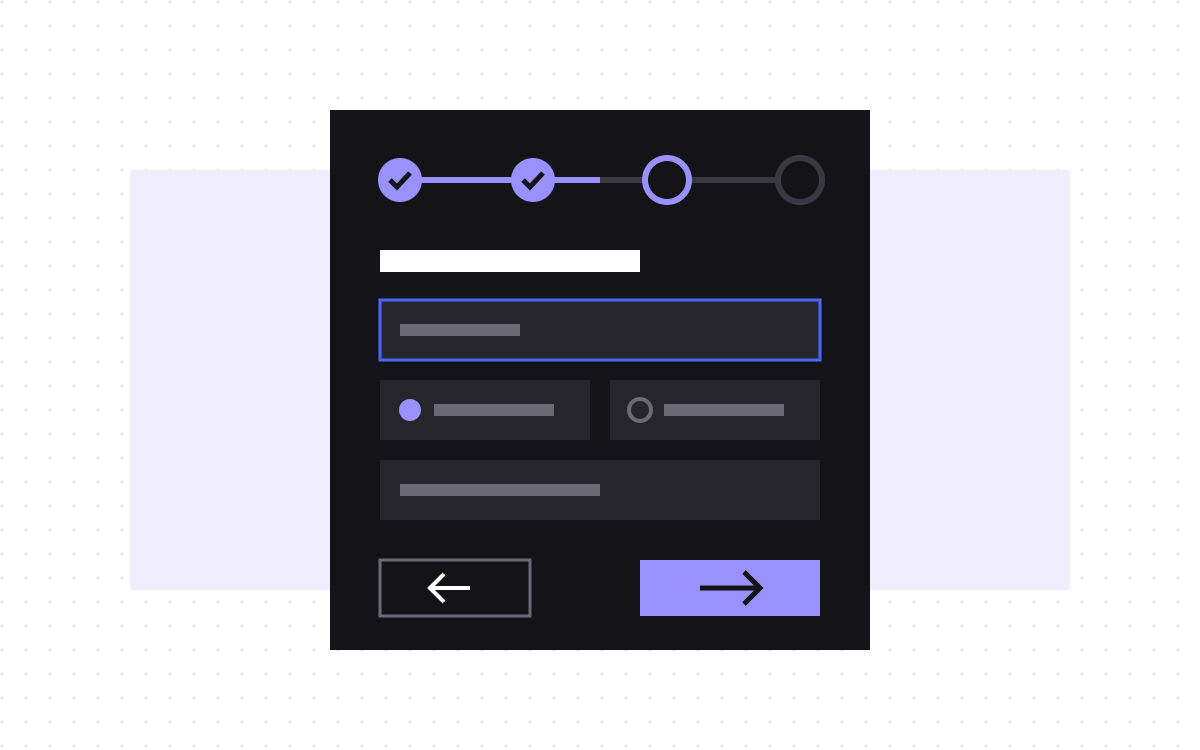
- Use one Webflow form split into step blocks, not several forms, so one submission holds every answer.
- A small script shows one step at a time and checks the fields in a step before Next.
- With JavaScript off, every step shows as one long form that still sends.
- Move focus to each new step and label it, so keyboard and screen reader users can follow.
- Track which step people stop at, then cut or move the questions that lose them.
The short answer
To build a multi-step form in Webflow, put every field inside one form block and group the fields into step blocks. A small script shows one step at a time, checks the fields in that step when the visitor presses Next, and lets the form send once at the end. Because it is still one form, a single submission holds every answer, and Webflow's own success and error messages still work.
When steps are worth it
Steps add work, so use them where they help. Our rule of thumb:
- Use steps when the form has more questions than fit on one phone screen, when later questions depend on earlier answers, or when the first question is easy and builds momentum.
- Keep one step for a newsletter sign-up, a short contact form or a demo request with three fields. Splitting those only adds clicks.
A multi-step form works because each screen asks for little. If every step has six fields, it is a long form with extra buttons.
How ClanX uses one
On ClanX, talent signs up through a custom multi-step form that asks one thing at a time, built with custom code inside Webflow. It sits on the join page of a 100+ page Webflow site we built from their design.
The structure below is the general method. It is one way to do it, and it suits most lead and sign-up forms.
Set up the structure in the Designer
- Add a form block. Give it a clear name, since that name shows on each submission.
- Inside it, add one div per step. Give each a custom attribute such as
data-step="1". - Start each step with a short heading, such as "Step 2 of 4: your team".
- Add Back and Next buttons to each step. Make them plain buttons, not submit buttons, so they do not send the form.
- Put the real submit button only in the last step.
- Add a progress bar above the steps. A div whose width the script changes is enough.
- Keep Webflow's success and error states as they are.
Mark the fields that must be filled in as required. The browser can then check them for you.
The script, in plain terms
The script needs to do five things:
- Show the first step and hide the rest, by adding a class.
- On Next, check only the fields in the current step. Calling
reportValidity()on each field shows the browser's own messages and stops at the first problem. - If all are valid, hide the step, show the next one, update the progress bar and move focus to the new step's heading.
- On Back, go to the previous step with the answers kept.
- Handle Enter. In a text field, Enter normally sends the whole form. Catch it and treat it as Next until the last step.
Because the script hides steps with a class, nothing hides them when JavaScript is off. Visitors then see one long form that still sends. That is the fallback you want.
Branching steps
Sometimes a step only applies to some people. A company hiring and a person looking for work need different questions.
- Give the branching question clear options, such as radio buttons.
- Keep a small map in the script: which answer skips which step.
- When a step is skipped, remove
requiredfrom its fields, or the browser will block the final send on a field nobody could see. - Update the progress label so it counts only the steps this visitor will see.
Keep branching shallow. Two paths are easy to test. Five are not.
Make it work for everyone
- Labels. Every field needs a visible label, not only placeholder text.
- Focus. Moving focus to the new heading tells screen reader users that the step changed. Give the heading
tabindex="-1"so it can take focus. - Errors. The browser's messages are a fine start. If you write your own, put them next to the field, in words.
- Buttons. Back and Next should be large enough to tap and look like buttons.
- Motion. If steps slide, respect the reduced motion setting.
Our accessibility basics post covers the wider checks.
Track where people stop
A multi-step form tells you more than a single one, if you measure it. Send an event each time someone reaches a step, with the step number. In GA4 you can then see how many people reach step two, step three and the end.
A big drop at one step points to the question that loses people. Move it later, make it optional, or cut it. Count the final send as your lead event, as in our guide to tracking form submits in GA4.
Where the answers go
Plan the destination before the form. A long form full of good answers is no use if they land in an inbox nobody reads.
- Name every field clearly. The field name is what your team sees in each submission, so "Team size" beats "Field 7".
- Keep answer options short and fixed. Radio buttons and dropdowns give clean data that a CRM can sort. Free text is harder to use.
- Send leads where sales works. Connect the form to your CRM or a shared sheet, through one of the tools in our integrations directory or a small script.
- Decide who replies, and how fast. Someone who answered six questions expects a reply that shows you read them.
Then check that one test entry reaches every place it should, with every answer intact.
Test before launch
| Test | What should happen |
|---|---|
| Press Next with a required field empty | The browser message shows and the step stays |
| Press Enter in a text field | The form moves to the next step, it does not send |
| Go back two steps | Earlier answers are still there |
| Take each branch | Only the right steps show, and the form sends |
| Use only the keyboard | Focus lands on each new step heading |
| Turn JavaScript off | All steps show as one form that sends |
| Send a real entry | Every answer appears in the submission |
What to do next
Write your questions on paper first, in the order you would ask them on a call. Cut any you will not use, then group the rest into steps. If you want help building the form or tracking it, see Webflow development or send us your form. For the page around it, our post on landing pages that convert may help.

Terms used: Webflow, Multi-step form